You are currently browsing the category archive for the ‘CardMaking’ category.
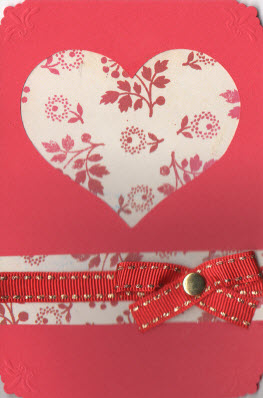
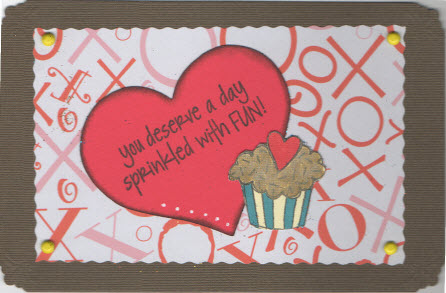
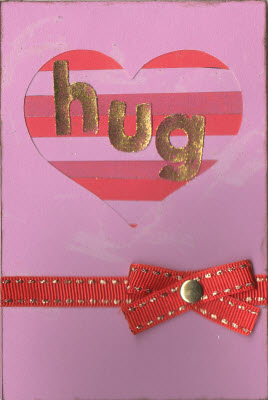
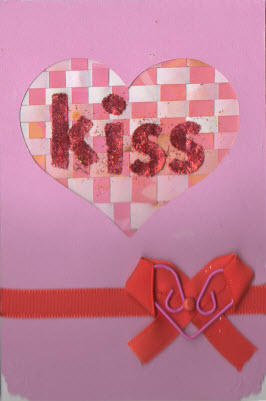
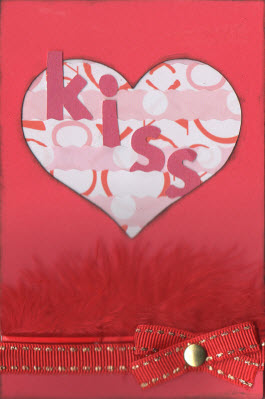
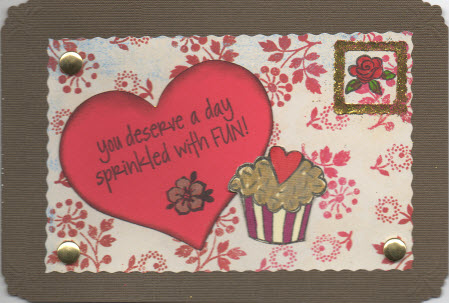
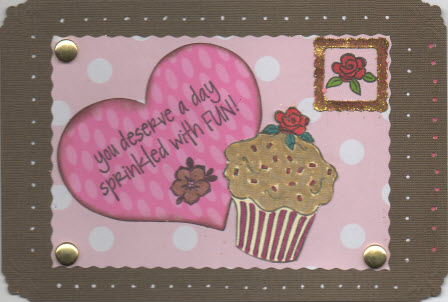
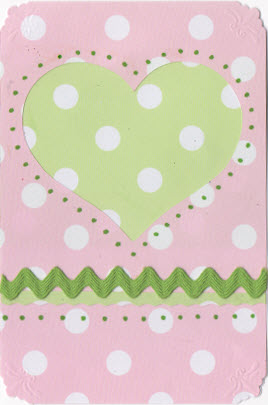
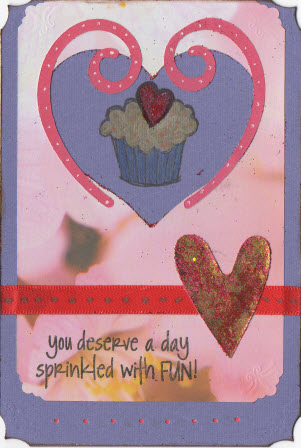
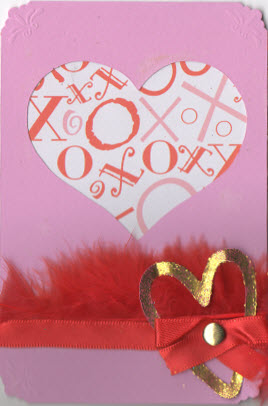
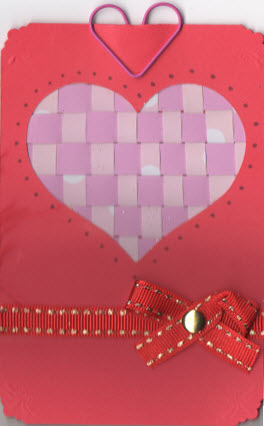
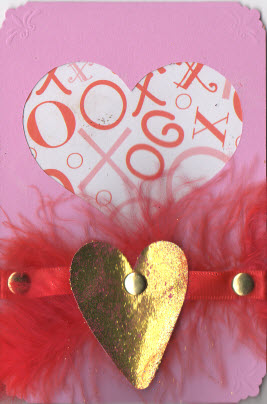
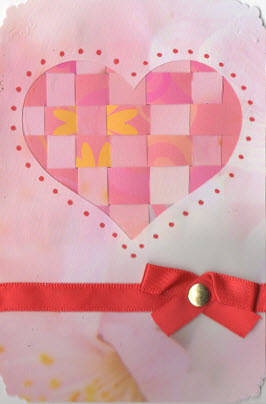
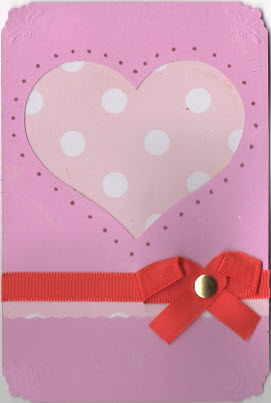
Here are some Valentine’s Day Cards I made. Please check back soon as I will add more information on the materials and techniques I used to create them:
Canon’s Creative Park takes the guess work out of making fun 3-d Popup Cards. It’s fun and it’s free. You just need paper, a printer and a glue stick.
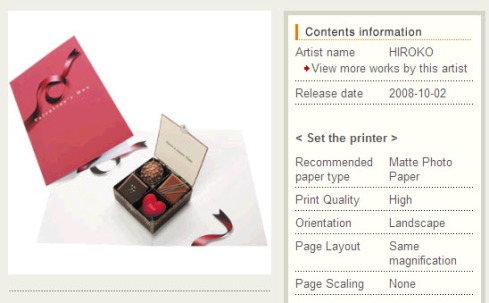
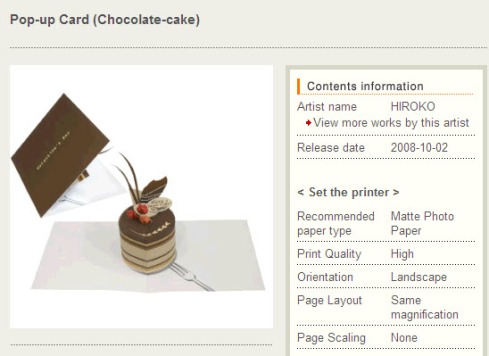
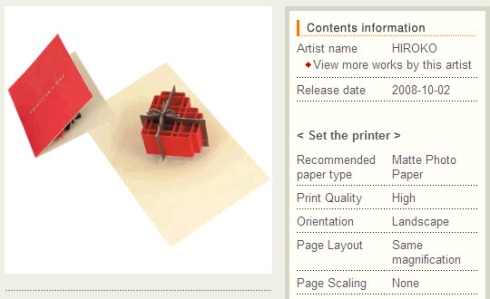
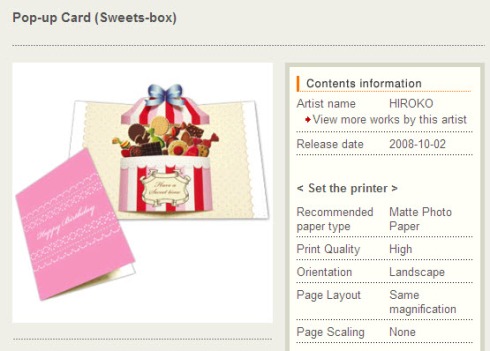
Here are the photos of their current Valentine’s Day Card Offerings:
Popup Chocolate Box
Popup Chocolate Cake
Popup Sweets Box
To access these projects, go to the Canon Creative Park Website at: http://cp.c-ij.com/en/contents/3053/list_15_1.html
Tips:
1. Most popup cards appear to come in two sizes, A4 and Letter. Since I usually only have Letter size paper on hand (8 1/2″ x 11″), I only download the letter file. Also, instruction files are available in A4 and Letter, so you should also only download the Letter instructions as well.
2. If you are making multiple cards, I would print out one set of the card and one set of instructions. There are usually extra sheets of the card for multiple color versions of the card. I would decide which card color I like most and reprint only the pages I need of the card set. There is no need to reprint the instructions more than once.
3. For the Popup Sweets Box, you can add real mini-sized lollipops or other treats.
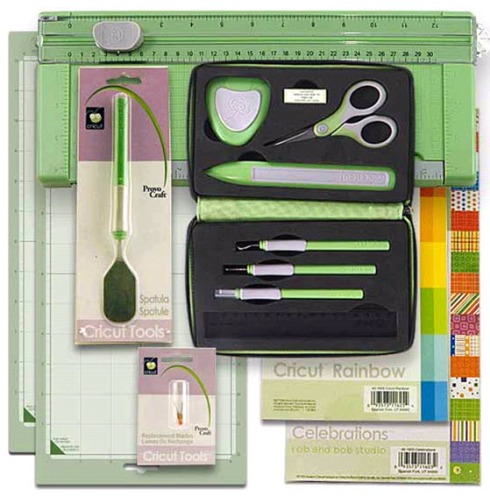
The Cricut Essentials Kit (Value Pack) comes with the following items:
1. Two 6″ x 12″ cutting mats
2. Cricut tool kit
3. Cricut Celebrations paper pad
4. Cricut Rainbow cardstock pad
5. Cricut trimmer
6. 2 Cricut replacement blades
7. Cricut spatula tool.
As of January 8, 2009, here are some prices for the Essentials Kit:
Get a head start on craft making for the holidays this year. The following list consists of popular holidays:
|
Thursday January 1st |
New Years Day (FEDERAL) |
|
Monday January 19th |
Martin Luther King, Jr. Day (FEDERAL) |
|
Monday February 2nd |
Groundhog Day |
|
Saturday February 14th |
Valentine’s Day |
|
Monday February 16th |
President’s Day (FEDERAL) |
|
Tuesday February 24th |
Mardi Gras |
|
Wednesday February 25th |
Ash Wednesday |
|
Sunday March 8th |
Daylight Savings Time starts |
|
Tuesday March 17th |
St. Patrick’s Day |
|
Friday March 20th |
First Day of Spring |
|
Wednesday April 1st |
April Fool’s Day |
|
Sunday April 12th |
Easter |
|
Wednesday April 22nd |
Earth Day |
|
Wednesday April 22rd |
Administrative Professional’s Day |
|
Friday April 24th |
Arbor Day, U.S. |
|
Tuesday May 5th |
Cinco De Mayo |
|
Sunday May 10th |
Mothers Day |
|
Saturday May 16th |
Armed Forces Day |
|
Monday May 25th |
Memorial Day (FEDERAL) |
|
Sunday June 14th |
Flag Day |
|
Sunday June 21st |
Father’s Day |
|
Sunday June 21st |
Summer Begins |
|
Saturday July 4th |
Independence Day (FEDERAL) |
|
|
|
|
Monday September 7th |
Labor Day (FEDERAL) |
|
Tuesday September 22nd |
First Day of Autumn |
|
Monday October 12th |
Columbus Day (FEDERAL) |
|
Saturday October 17th |
Sweetest Day |
|
Saturday October 24th |
United Nations Day |
|
Saturday October 31st |
Halloween |
|
Sunday November 1st |
Daylight Savings Time Ends |
|
Wednesday November 11th |
Veteran’s Day (FEDERAL) |
|
Thursday November 26th |
Thanksgiving (FEDERAL) |
|
Thursday December 17th |
Wright Brothers Day |
|
Monday December 21st |
First Day Winter |
|
Friday December 25th |
Christmas (FEDERAL) |
The following contains a list of recommended greeting cards to make and keep in supply:
|
Greeting card |
|
Anniversaries |
|
Birthdays (Boys) |
|
Birthdays (Girls) |
|
Congratulations |
|
New Arrivals |
|
New Home |
|
Retirement |
|
Thank You |
|
Weddings |
I often crop images into circles. If I didn’t crop my images into circle, I would have to buy a circular cropping tool and attempt to cut an image after I’ve printed it. For me, it’s a lot cheaper to just print an image or photo as a circle and just use a normal pair of scissors to cut it out.
Here’s an example of an image I cropped using Microsoft Paint:
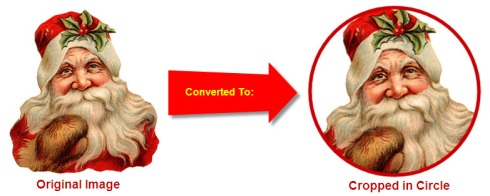
To achieve this using Microsoft Paint, follow these instructions:
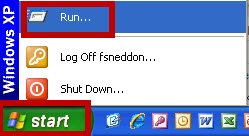
1. Open Microsoft Paint. Click the Start button and select Run.
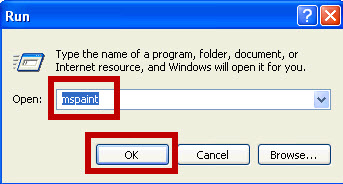
2. Type MSPAINT and click the OK button.
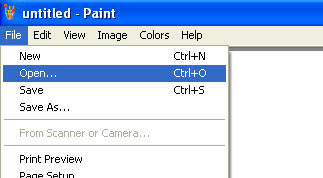
3. Click the File menu and select Open.
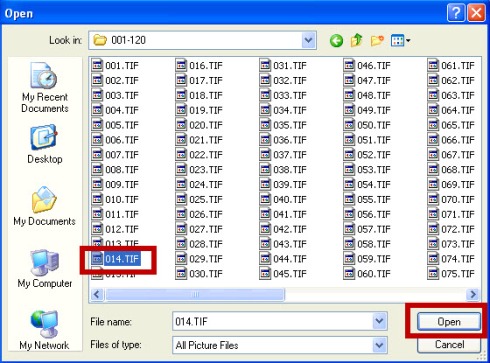
4. Highlight the file you would like to crop and click the Open button.
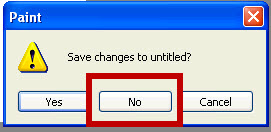
5. When the Save Changes dialog box appears, click the No button.
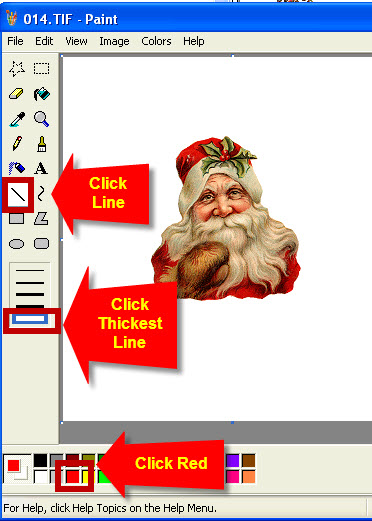
6. Click the Line button, then click the largest line thickness and then click the Red button.
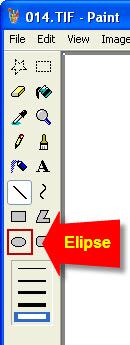
7. Click the Elipse button.
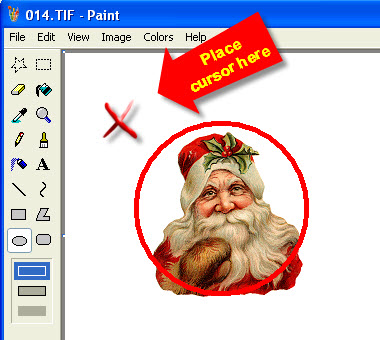
8. Place the cursor in the top left corner of the image. Click the Shift button + Control Button at the same time and use your mouse to drag a circle over the image. This may take a few tries to get it right. If the circle does not look ideal, click the Edit Menu and select Undo to remove the last action performed. You can repeat the Undo function to remove previous actions as well. Note: Clicking the Shift Button + Control button at the same time creates a proportionate width and height circle. Using this same key combination for creating a square also ensures a proportionate width and height square.
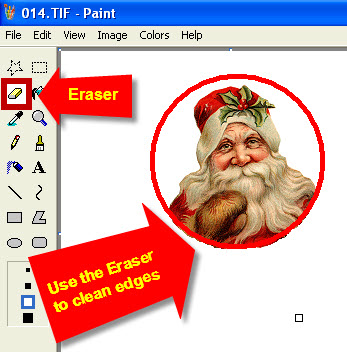
9. As you notice from the previous photo, there are edges that extend beyond the red circle. To remove these edges, click the Eraser button and remove the edges with the eraser. There are more sophisticated photo editing software that can prevent this step, but the nice thing about Microsoft Paint is that it is already included as part of your Windows Operating System. I’m sure the Macintosh Operating System has an equivalent as well. A really good photo editing software to use is Adobe Photoshop and if you would like to try this out, you can download a trial version at www.Adobe.com.
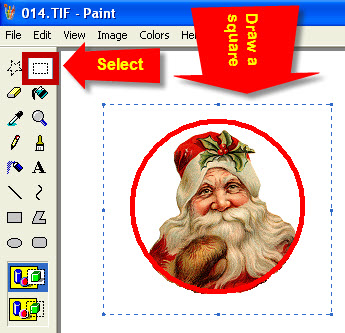
10. You can now print this image. I like to print several of these images on a glossy photo paper. Once printed, there is a nice shine to the image and it seems to provide a nice contrast to the scrapbook papers I use for making greeting cards. To copy this image to Microsoft Word, click the Select button and draw a square around the image.
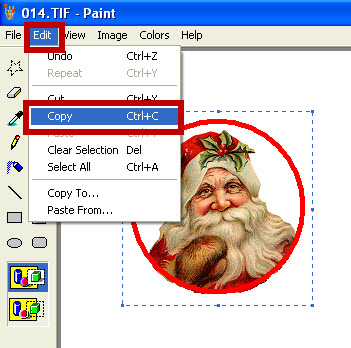
11. Click the Edit Menu and select Copy.
12. Open the Microsoft Word program. Click the Edit Menu ad Select Paste. You can repeat the paste several times to fill up the whole page. You can also reduce the headers, footers and margins in order to fit more images on it as well.
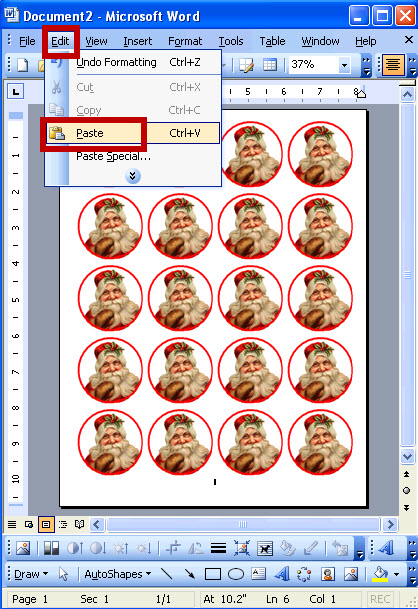
I would then print this out on Glossy paper using the best photo image quality setting on my printer. This particular image really pops using black cardstock.
Here’s another example of clipart using the same technique:

Here’s an example using a rectangle instead of a circle:

About the Clipart I Used:
A few months ago, I purchased a new vintage Christmas Clipart CD by Dover Publications. The images are beautiful and have a unique old-fashioned victorian type of feel to them. The nice thing about the Dover clipart I have purchased in the past is that it comes with a full-color printed copy of every single image, Dover Design Manager software for easy viewing and all images were royalty-free.
Here is a link to Dover’s website: http://www.doverpublications.com
Here is a link to the Christmas Clipart I purchased: http://search.barnesandnoble.com/Full-Color-Decorative-Christmas-Illustrations-CD-ROM-and-Book/Staff-of-Dover-Publications/e/9780486999678/?itm=7
I love to make my own cards for all occassions (ex. birthdays, anniversaries, christmas, valentines, etc). It’s a fun hobby that my daughter loves to participate in.
My favorite size for cards is 4″ x 6″. There are several reasons why I like to make cards this size:
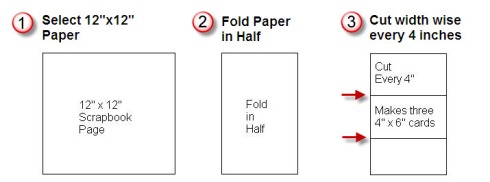
1. Standard scrapbooking paper is sold in 12″ x 12″ sheet sizes. If I fold a scrapbooking sheet in 1/2 then make two cuts 4″ apart, I then have three 4″ x 6″ cards! How easy is that!
2. I came up with a great way of storing these cards as well. I place them in a photo album meant for 4″ x 6″ photos. By placing your cards in a photo album, this keeps the cards flat, gives the cards extra pressure for any adhesive that is drying, and is a great way to show off your cards to friends and family.
3. My favorite envelope for sending these cards out is a clear plastic sleeve. The US post office will accept them and they are resealable. It’s also neat to get a card in the mail this way as the art work you have created is visible right away and showcased.

